Showing posts with label diy. Show all posts

6.11.2011

DIY Vanilla Extract

I love subscribing to blogs!
I think I follow close to 200 hundred different sites...
there is SO MUCH talent out there!
So many ideas, recipes, suggestions and tips on how to live...well, better!

Well, I ran across an idea/recipe the other day in a linky party that I am pretty sure is going to change my life!

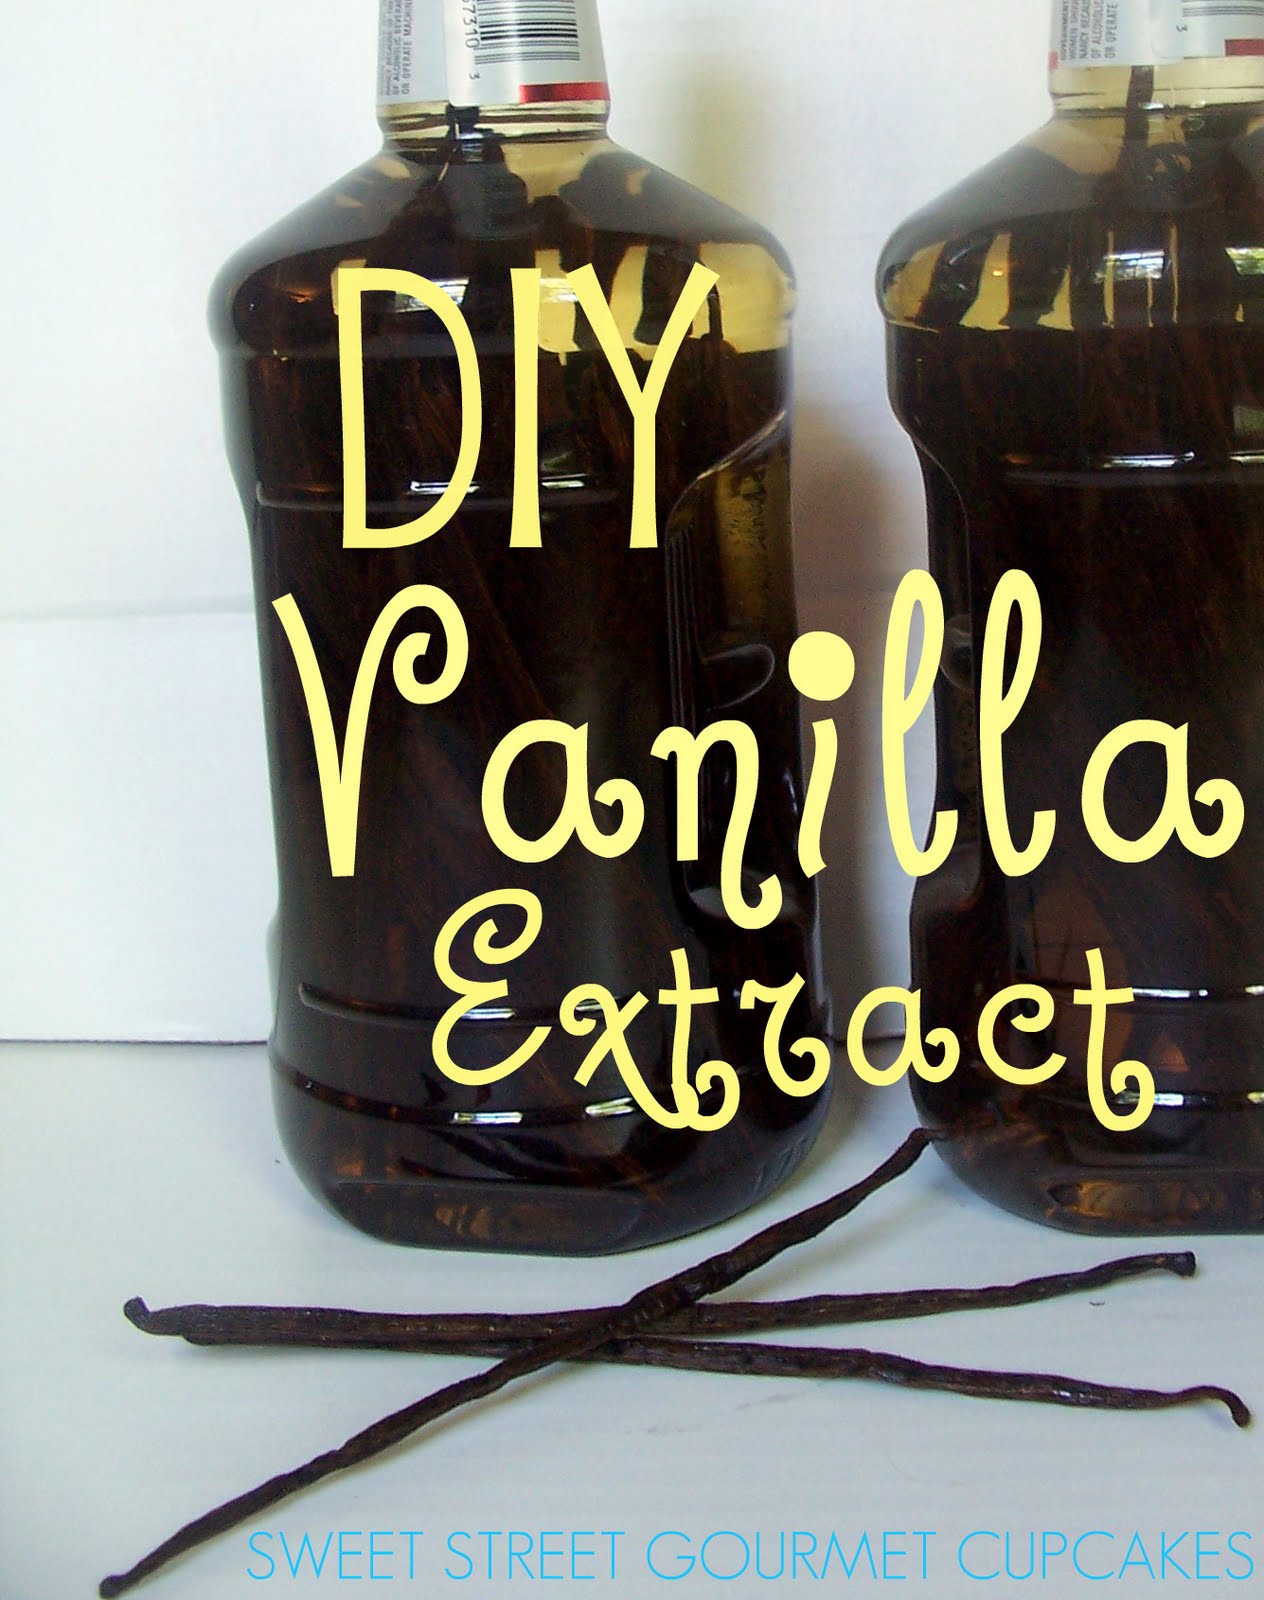
Homemade Vanilla Extract

I had no idea it was so easy!
The hardest part is waiting 6 months for the steeping process to be complete - 
literally!

I am ALL about giving credit where credit is due...so, run on over to Southern Girl Creations and read about their AWESOME idea I'm totally copying!! 

Here's The Recipe:

1 gallon Vodka {any brand, any grade you like}
100 Vanilla Beans

THAT'S IT!

All you have to do it split the vanilla bean down the shell's center, leaving about an inch on each end uncut {so the bean stays intact} and let them steep in the vodka for 6 months. Your container needs to be placed in a cool, dry spot {like the back of your pantry} ... and just needs a little shimmy-shake every week or two. 


Southern Girl Creations had a fantastic lead on quality vanilla beans at a wholesale price through a shop on ebay - CLICK HERE to check them out!

As you can imagine, I go through a lot of vanilla in a year's time - I'm super stoked about having my own supply! One of those half gallons is ALL MINE!!  :)  But, I will share the other, I promise! 


Once it's bottled up and given a cutsie tag, they will be perfect for gift giving and event favors!  

**If you start now, your batch could be ready for Christmas!!**


Parties I Linked To:
Amaze Me Monday - Dittle Dattle
Masterpiece Monday - Boogieboard Cottage

3.16.2011

Gourmet Cupcake Kits

Would you like Sweet Street's Gourmet Cupcakes 
piping hot...
straight from your own kitchen?

Well, now you can have it!

Introducing DIY Cupcake Kits:

A dozen Cupcake Kit includes my Gourmet Cupcake Flour, Homemade Frosting, Cupcake Toppings, 12 Standard Cupcake Liners, an Icing Bag and a Complete and Easy to Read Direction Card.

A 2 dozen Cupcake Kit includes my Gourmet Cupcake Flour, 2 Homemade Frostings, 2 Cupcake Toppings, 24 Standard Cupcake Liners, 2 Icing Bags and a Complete and Easy to Read Direction Card.

All you need to add is butter, milk and eggs ... and before you know it, you'll have fresh Sweet Street Cupcakes from your own oven! This would be great for cupcake bar parties, a homemade gift for loved ones or a fun filled Saturday with the kiddos! 

Gourmet Cupcakes, made by you, the easy way! Available at my etsy shop!

1.28.2011

More Laundry Room Wall Art

It's Friday!
Yay!!
What better way to celebrate...
than more talk about my laundry room!

I saw an adroable idea on etsy the other day - a Lost Socks sign!
How cute, right!
The moment I saw it, I knew I had to recreate it for my laundry room re-do!

Here it is:


This was super easy and quite inexspensive to create. I bought a wooden sign from Michael's {for like $4.50} and painted it with a navy spray paint I had in my stash. When the paint dryed, I simply Mod-Podged some green scrapbook paper to it and added the vinyl letters. To finish it, I attached twine and hung the socks waiting for their match!

{Hopefully, the dryer didn't eat them!!}


This adds a cutsie touch to a traditionally not-so-cute room - I'm pretty darn happy with it! I may go back and distress it a little, but other than that, I love it!

Have a very happy and fun weekend! I'm headed to Charleston for thrifting and yummy food with a friend! It's going to be fabulous! {Hope we find some goodies!}


1.20.2011

Up Close Look At The Alphabet Wall

I just couldn't wait another second to post the alphabet wall yesterday...
So, today I'm going to take a few letters I made myself
And break them down for you.

I guess we'll go in alphabetical order - tee hee! ;)


The "E" is made of sticks. I went out into the yard, found 4 sticks that seemed to be the right size and hot glued them together. After hanging with a ribbon, I added a button to hide the nail...I hate seeing a nail!

This is actually my second attempt at an "F" - the first was wooden building block glued inside a frame. It was adorable...and it was HEAVY! So, after some thought and a little persuasion by my son {and by persuasion, I mean he broke it} I decided to make a second "F" and choose between the two. The second was my choice! I had this old book in my collection that was just falling apart...and it was a sailing story, so I thought how perfect. After attaching some burlap to canvas, I rolled a few pages from the book to form the "F." I then added the cover and title page in the bottom corner. I'm much happier with this "F!"

For the "M," I found this super cute, antique map print in the scrapbooking section at Michaels for $0.59. After framing it, I glued an "M" in the corner {it was in my collection AND was already painted!}


The "H" was made from an old sign I bought in a flea market for $1 - I bought it a while back and just fell out of love with it...so, I Mod Podged some pretty paper to it and used fabric cord trim to form the "H."

The "I" is kind of a funny story...when I was first getting my thoughts together on this wall, I wanted to use a lobster bouy for the "I." But after seeing the prices on those guys, I knew I needed to come up with a plan b! Then one night I was browsing our local Goodwill when I saw this awesome belt! {Not for wearing, mind you! ;) } So, the "I" is a belt I got for $.075 and cut to fit the space.

The "Q" was quite simple - it's a wooden letter I bought at Hobby Lobby that I wrapped some old ribbon I had on hand around. Pretty cute and easy, right!


The "Y" is one of those landscape pictures I bought in an open air market in Charleston a few months back. To jazz it up a bit, I attached it to a small canvas and glued sand around the edges to frame the picture. To finish it, I added a cute sea shell.

The "AND" is a small piece of wood I bought at Hobby Lobby for like a $1 and painted with chalkboard paint. I attached a cute ribbon and was done!

Finally, the "Z" is one of those chunky, hallow cardboard letters from Hobby Lobby that I wrapped twine around.


Once I had everything sitting in front of me, the wall really came together rather quickly. The hard part was the months of collecting, for sure! The more I look at the pictures, the less I like the anchor as the "T," so that may be changing...but overall, I'm super happy with the way it turned out!


1.19.2011

Alphabet Wall

I have been collecting and compiling wooden, wire and metal letters...as well as supplies to make letters...for about 7 months now. And I finally have the Alphbet Wall completed in my son's play room.

The room doubles as my laundry room, so there's a slight nautical theme. For that reason, I went with hues of blue and red...and used many boat and ocean related things to act as letters!

Taa Daa!

I tried my very hardest to do this on the cheap! {Your very welcome, my dearest hubby! ;)} I wanted to add a price breakdown to show you - I tried to remember exacts, but some are approximate costs.


I'm in love with the way this turned out! It was such a BIG, boring blank wall...and now it's so fun!
{And, educational, right!}


Parties I Linked To:


12.10.2010

Family Recipe Wall Art

I live in an older home...one that was built when a formal dining was the norm. I personally LOVE having the space, but decorating it has been a bit challenging.


I found this wallpaper after first buying our home and thought it was beyond perfect. In fact, I've told my husband I didn't know if I could ever move because I just don't think I could ever part with such a gorgeous room! ;) I haven't been too lucky finding the perfect wall hanging for it
though...a simple mirror just would not do!

I had this large, plain wall in there, but wasn't quite sure what to do with it. That is, until I ran across this uber cute post by the Thrifty Decor Mom entitled Really Cool Recipe Art where she displayed a family heirloom.

Unfortunately, I do not have old family recipe cards in my possession...so, I had to make them! :) Here's what I used:

  • 3 Note Cards
  • Left Over Coffee Poured Into A Saucer
  • Paper Towels
  • Baking Sheet
  • Oven Set At 200 Degrees

After writing {in my very neatest cursive script} my 3 chosen recipes on their card, I dipped each one in the coffee and placed them on the baking sheet a few inched apart from each other. To give them a more aged look, I then dipped a paper towel in the coffee and sponged it indifferent areas to make "age marks." Then, I popped them into the oven for a few minutes to dry...and voila! Old family heirlooms in minutes!


The rest was just a combination of things I had on hand:
  • 3 Frames
  • Old Sweaters
  • Scrapbook Paper and Stickers
  • Sticks
  • Hot Glue Gun
The background was made from old sweaters I cut to fit the frame size. I love how it gave each piece texture and softness all at the same time. The scrapbook paper was used to frame the recipe cards and to give an earthy element to the room, I added the sticks. They fit the wall perfectly and it's nice to have such a personal touch to my room.


The recipes I chose came from 3 very different people, but each who helped me to achieve my culinary goals.

First is my great-grandmother's pound cake, which is the exact recipe I use for my wedding cakes. She was a wonderful cook and baker...she is who I push myself to be more like - inside the kitchen as well as out.

Second is a marinara sauce from a chef and friend who taught me so much about cooking. He is the first chef I worked for/interned under after culinary school. His expertise helped me to learn the often hard concept to grasp - how to tell doneness without puncturing the meat, as well as menu planning and flavor combining. Although he's not apart of my family, he absolutely deserves a spot on my wall!

Lastly is my mom's Mac-N-Cheese recipe. She is not the world's best cook, but she does make the world's best baked macaroni and cheese! Plus, she's the world's greatest mom...who has supported my decision to transfer from an English degree at a four year school to Culinary. :)

Little things like this turns a house into a home...and I just love it!

Jade